
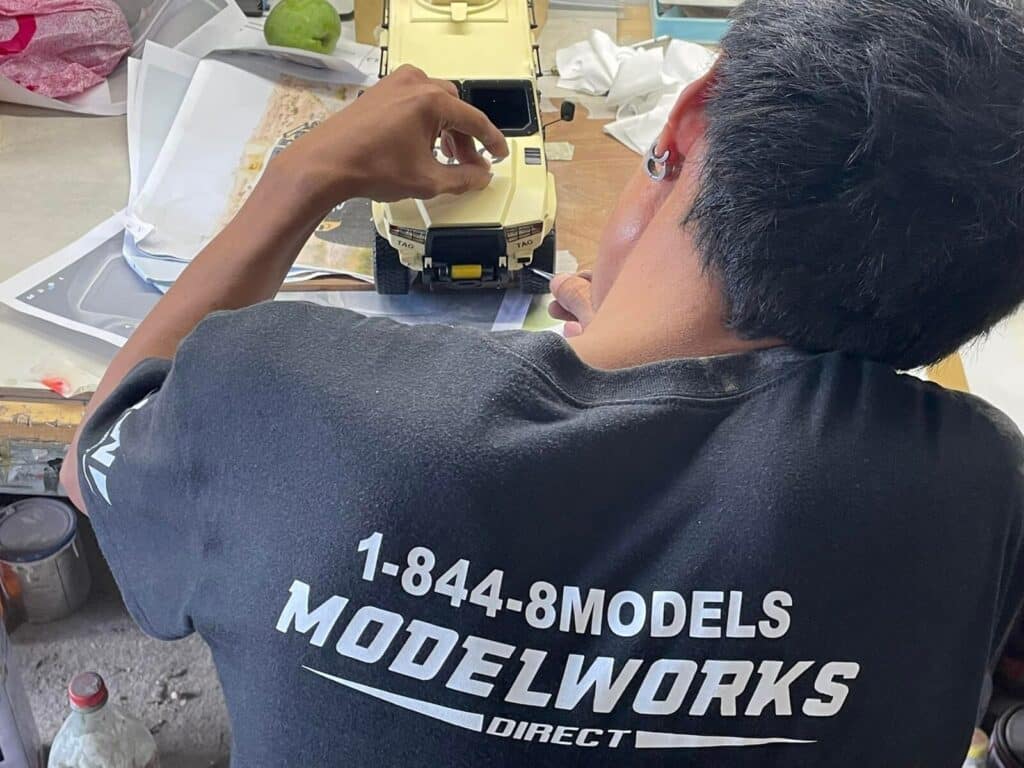
Most people assume a scale replica gets built in a few days. Maybe a weekend for something simple. The reality is closer to several weeks — sometimes longer — and nearly every hour of that time is spoken for. This isn’t slow craftsmanship. It’s what the work actually demands.
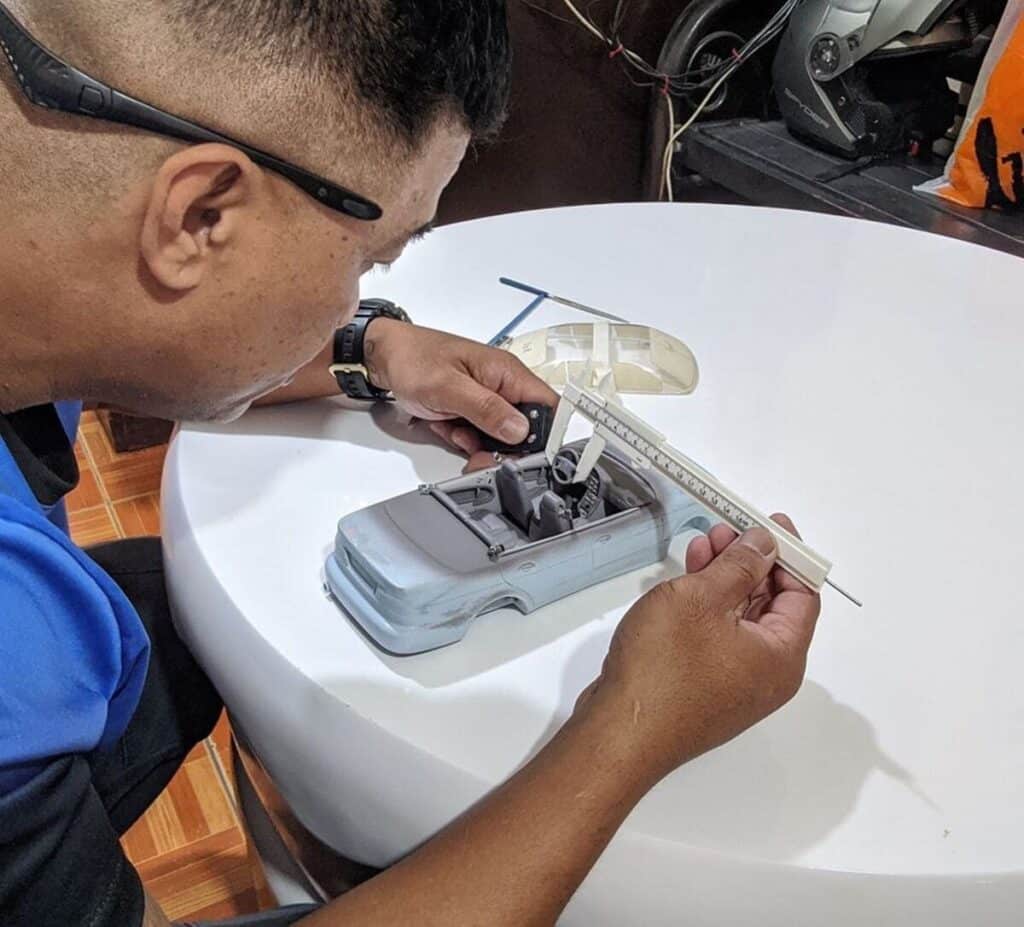
Here’s a look at what happens from the moment a commission is accepted to when a finished replica ships out. It’s a methodical process, occasionally repetitive, and almost entirely focused on getting small things right the first time.
It Starts With Reference — Lots of It
No tools come out until the reference material is solid. That means photographs — not just a front and side shot, but close-ups of panel lines, undercarriage details, interior trim, badge placements, livery markings, everything. The volume of reference gathered at the start directly determines how accurate the finished piece will be.
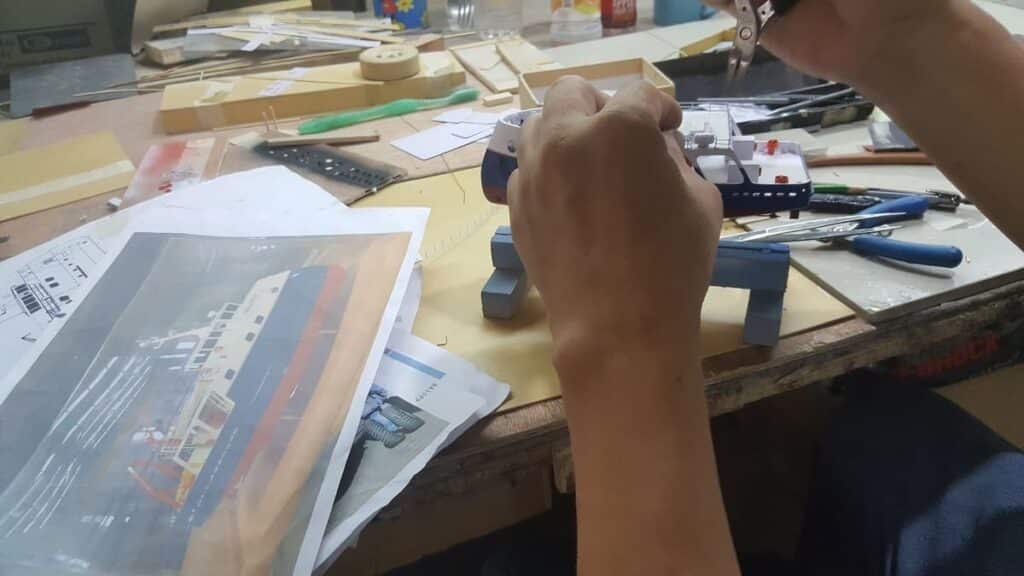
Clients commissioning replicas of vehicles they personally owned are usually straightforward here. They’ve got years of photos already. Clients asking for historical or rare vehicles are a different story. Sometimes the team has to dig through manufacturer archives, old dealership brochures, even museum documentation just to establish accurate proportions. That research phase can run two to three days on its own — and it doesn’t look like progress, but skipping it always shows up later in the model.
Picking the Right Materials
Not all replicas use the same build materials, and the selection matters more than most clients initially expect. Resin handles body panels well — it picks up surface detail cleanly and sands down without splintering. Machined metal comes in for structural components and smaller mechanical parts where resin would eventually flex or crack.
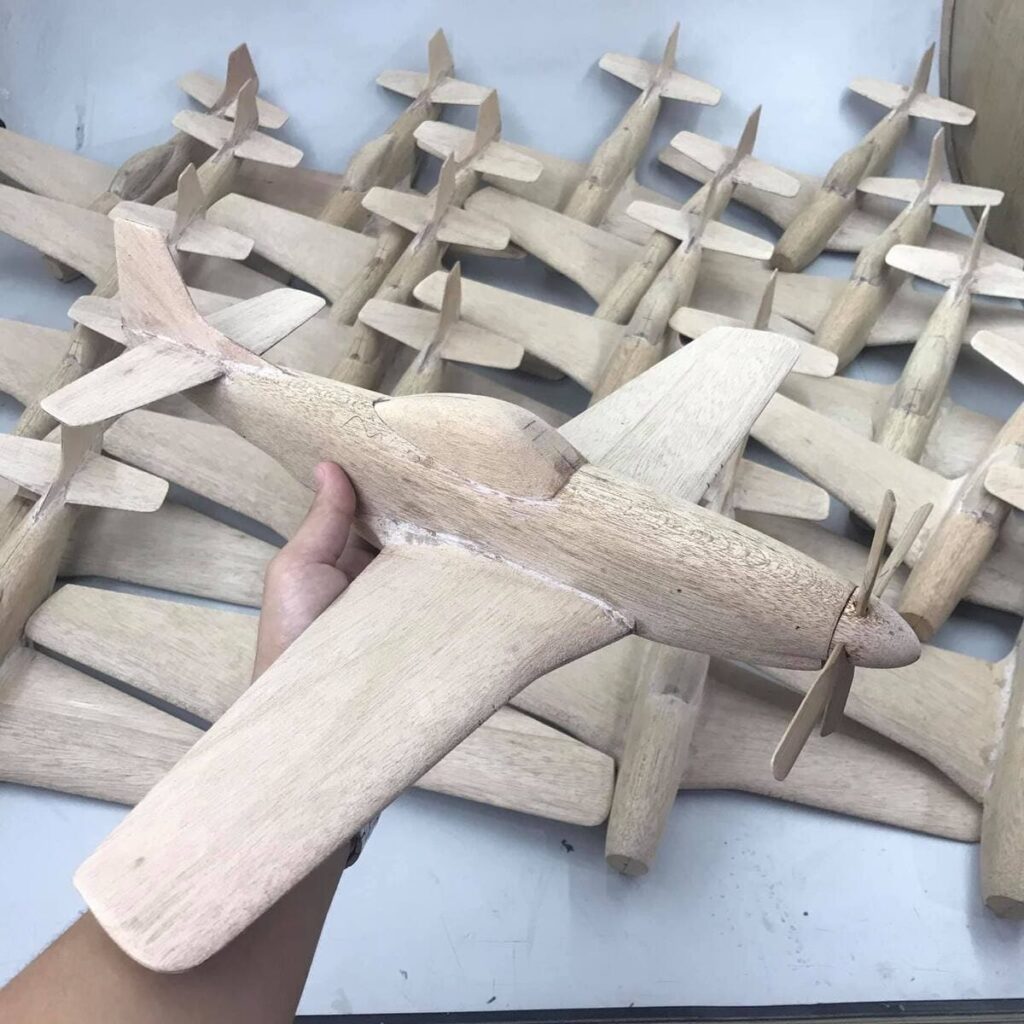
Wood is used selectively, mainly for bases and internal framing. When it is, mahogany tends to be the first choice — and for good reason. It’s dense, stable across humidity changes, and holds fine edge detail far better than softer alternatives. A mahogany base won’t yellow, won’t warp, and won’t start looking cheap after a few years sitting on a shelf. For something built to last a lifetime, that kind of material stability isn’t a nice-to-have. It’s the baseline.
Final material decisions also factor in where the finished scale model will actually live. A corporate boardroom display has different requirements than a private collector’s cabinet, and experienced craftsmen account for that before cutting anything.
The Build Phase: Slow by Design
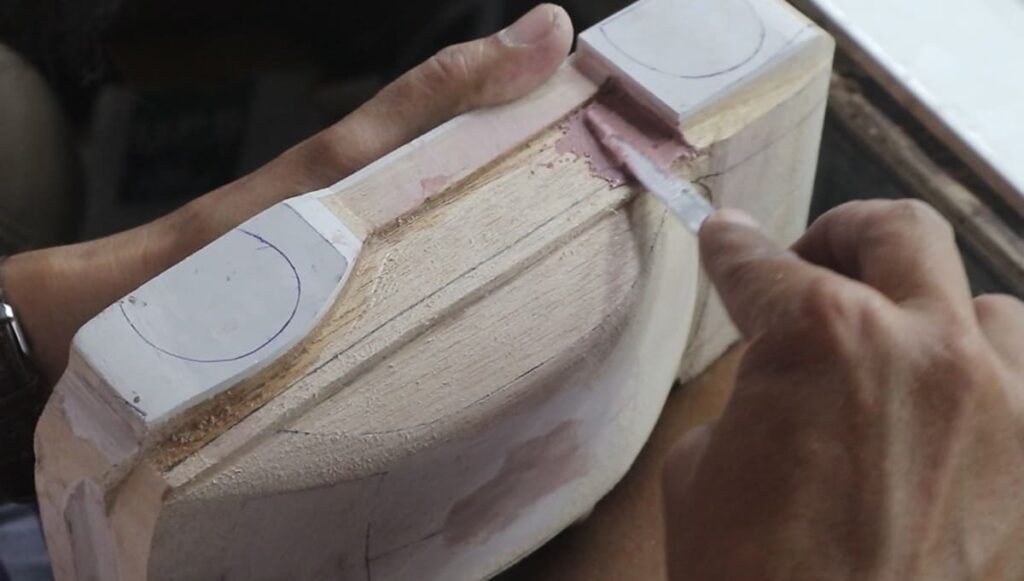
Once materials are in place, construction begins — and this is where time really piles up. Each panel gets shaped individually, test-fitted against the reference photos, adjusted, then fitted again. Smaller components like door handles, mirrors, wheel arches, and grille sections are built separately and only attached once the primary structure is solid.
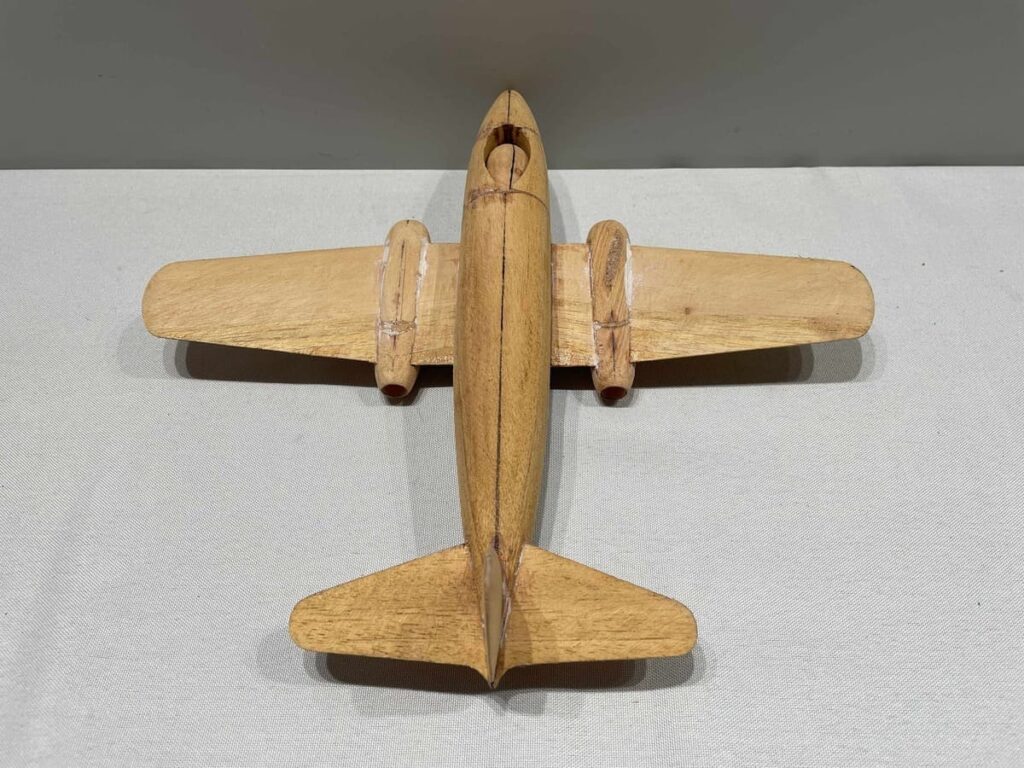
What slows things down is that errors at this scale are impossible to hide. A wheel arch sitting two millimetres out of proportion is immediately obvious to anyone familiar with the original vehicle. A door panel that doesn’t sit flush looks wrong at a glance. So there’s a lot of stepping back, re-comparing against photographs, and occasionally pulling sections apart to redo them properly. Rushing this stage produces replicas that almost look right. Almost isn’t good enough for something meant to be on display for decades.
Paint and Finishing
Painting a replica isn’t a single-session job. It’s layered — primer, base coat, colour coat, clear coat — with proper drying time built in between each stage. Colour matching is done against the client’s reference photos or against original manufacturer paint codes where they exist. More often than not, the final mix has to be custom-formulated, especially for older or discontinued colours.
Weathering gets handled case by case. A replica of a race car that spent time on track should carry evidence of that — faded patches, brake dust around the arches, minor surface wear in the right places. A showroom-condition replica gets none of it. Getting that distinction right is what separates something that looks like a model from something that reads as a real vehicle at a smaller scale.
Final Details and Sign-Off
Decals and markings go on last. Depending on the commission this can include racing livery, registration plates, manufacturer badges, squadron insignia, or custom text. Each one gets cross-referenced against the original brief before application — not just eyeballed against the previous step.
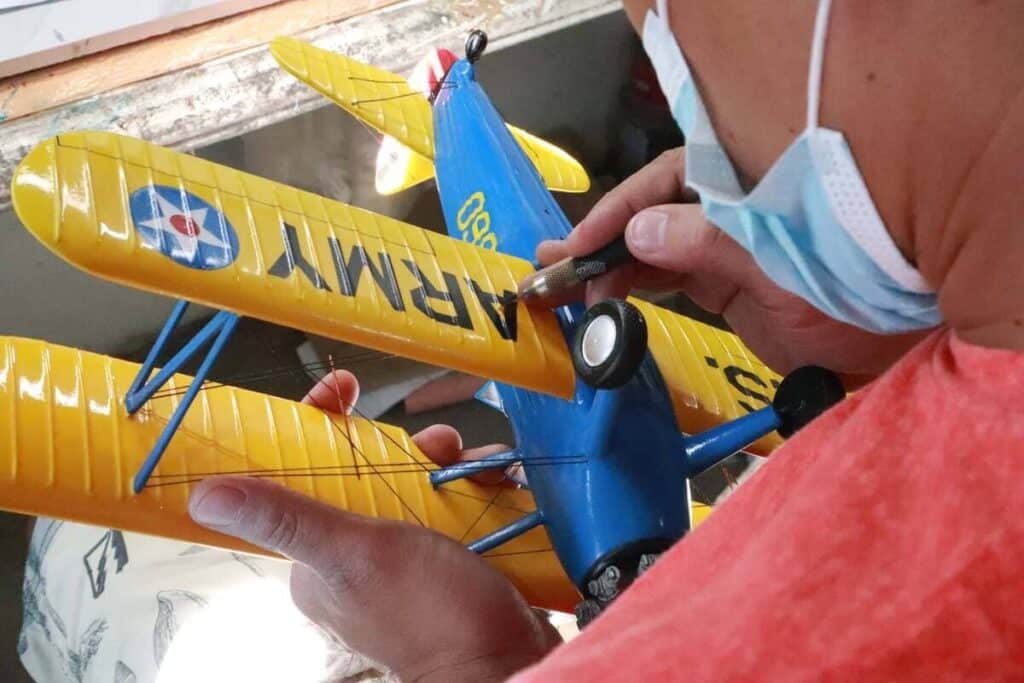
After that, a full comparison runs the finished model against every reference photograph. Proportion, surface texture, colour accuracy, panel alignment — all of it checked in sequence. The piece doesn’t move toward packaging until it clears that review. It’s caught real problems on models that looked fine at a distance. Worth the extra time every single time.
Why the Timeline Is What It Is
Clients sometimes push back on lead times, which is understandable. But the length reflects what the finished piece is actually supposed to be — specific enough to be recognised immediately by anyone who knows the original vehicle, and built solidly enough that it won’t deteriorate sitting in a display case.
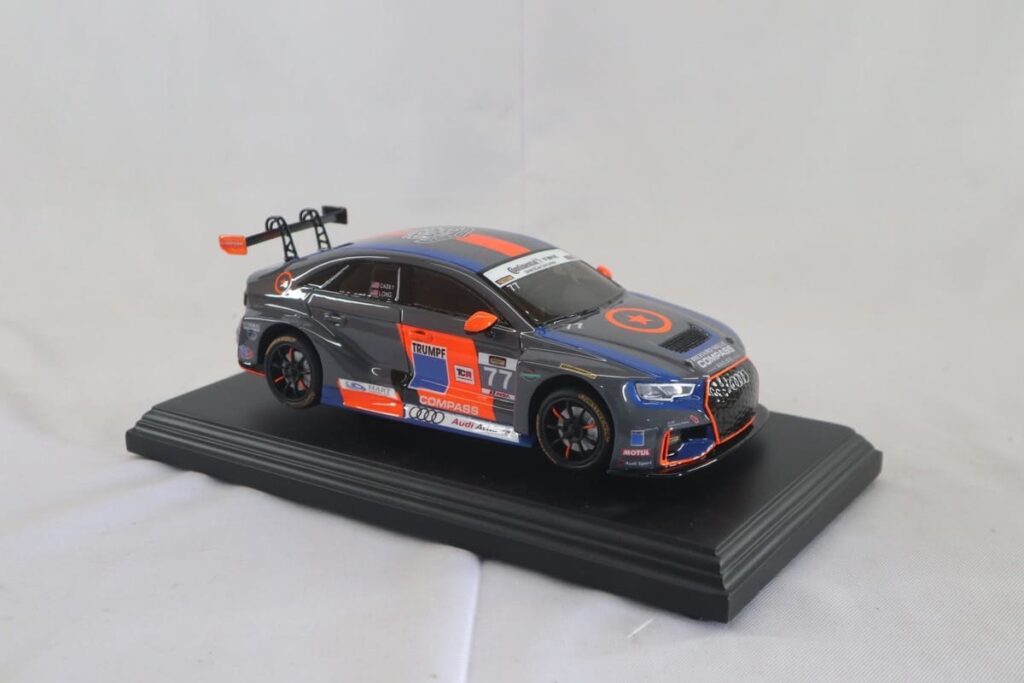
A mass-produced replica can be turned around faster because it’s built to a general template. A handcrafted one is built to a specific vehicle. That specificity is the entire point of commissioning one, and it can’t be compressed without showing up in the result.
If there’s a vehicle worth preserving in that kind of detail, it’s worth seeing what’s possible through custom car models built directly from your own photographs and reference material.
Got a vehicle worth preserving? Build My Model from Photos →